Music centers are an easy way to structure a music lesson and work on almost any concept, but they can also feel overwhelming to set up.
I often use these activities in one-on-one lessons or small groups, but they are perfect as centers because students can do them independently once they understand the routine.
If an activity works smoothly in a small group without constant help, it is usually a good candidate for a center. And if you’re a private instrumental teacher they also work well as end-of-lesson games, in small group classes, or for waiting students.
Here are some of my favorite simple, low-prep elementary music centers ideas that help students practice real skills without adding a lot of extra work for you.
What Makes a Music Center Actually Work
The most successful music centers aren’t complicated. Simple is usually better.
Effective centers should:
- have clear, simple instructions
- use familiar formats or game structures
- allow students to work independently or with minimal help
- focus on one specific skill
If students already understand how an activity works, they can focus on the activity, instead of asking for help every few minutes.
Repeating the same types of activities every time you do centers, just with different content can be really effective.
Why Use Centers in Music Class
Centers give students a chance to practice skills in a more independent and hands-on way.
Centers also make it easier to:
- give students more repetition of a skill without boredom
- observe who understands a concept and who needs support
- encourage teamwork and peer relationships
- engage quieter students who struggle to participate in whole-class activities
Easy Elementary Music Centers Ideas
Here are some of my favorite ideas for music centers: card games, worksheets, composition & instruments, and listening activities. A combination works great to keep kids interested (I wouldn’t have worksheets at every center, for example. But, maybe a game at one, worksheets at another, composition & rhythm instruments at a third, and a listening activity at the fourth, if you have the technology available.)
Rhythm Go Fish
This is an easy activity to set up and explain.
Students play just like regular Go Fish, but instead of asking for numbers or colors, they:
- say
- clap
- or tap the rhythm they are looking for.
Because most students already know how to play Go Fish, they can focus on reading rhythms instead of learning a new game.
This works especially well as a center because once students understand the rules, they can play independently with very little support.
Read more about how to play rhythm go fish here.

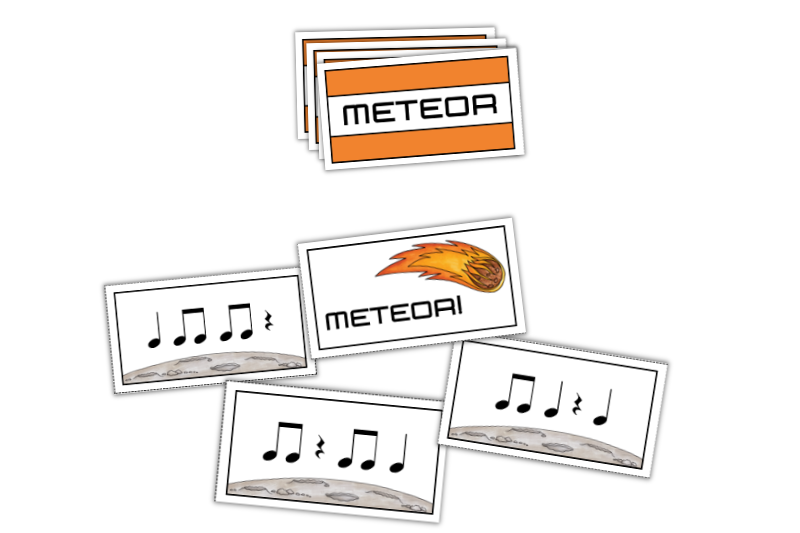
METEOR! Card Game
This is a simple music card game (in the style of kaboom) that students pick up quickly.
Students take turns drawing a card and:
- clap, tap, or say the rhythm
- keep the card if they are correct
If they draw a METEOR card, they have to return all of their cards to the middle, which adds excitement and keeps students engaged.
This works well as a center because:
- turns are quick
- rules are simple
- METEOR cards add an extra level of fun
You can find the METEOR! rhythm card game in my shop here.
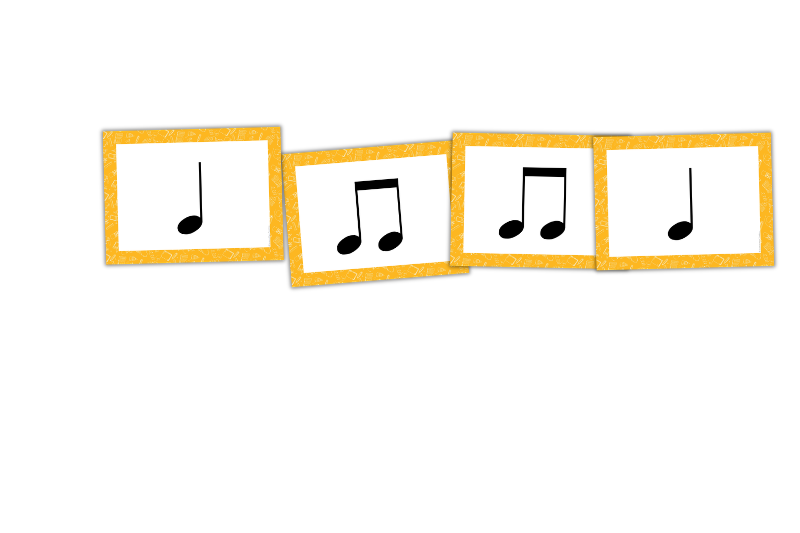
Matching Games
Matching activities are a great option when you want something quiet and focused.
Students can practice any concept with matching cards:
- rhythm to rhythm
- note name to notes on the staff
- instrument to family
- music symbol to its’ meaning
You can just use matching cards, but adding a recording sheet for students to ‘record’ a few of their matches lets them:
- show their understanding
- practice writing
- have work to be marked
This type of activity works well as a center because it’s:
- self-paced
- easy to check
- adaptable for so many concepts
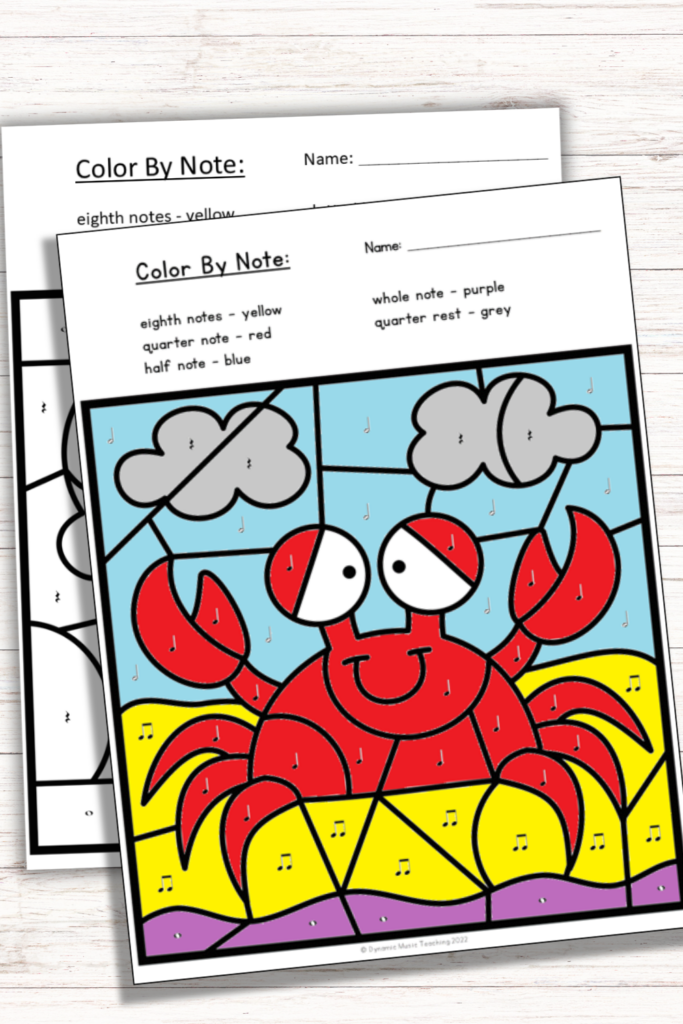
Color-by-Rhythm Worksheets
These are another great option for a quieter center.
Students color sections of an image based on the rhythm shown ‘color-by-number style’, which reinforces rhythm recognition in a low-pressure way. What student doesn’t like to color? They all do, even the older grades love to color!
The best part is that most students immediately understand this sort of activity without any teacher direction.
Rhythm Composition & Instruments
This is a good center to review rhythm, but also to encourage creativity and give students a chance to actually make some music. You will need to provide rhythm instruments that students have already been taught how to use responsibly and safely. For example, rhythm sticks, wood blocks, small drum, etc.
Students:
- create their own rhythm patterns
- perform them with whatever rhythm instruments you have available
You can do this sort of center in a few different ways depending on your students level and what you have availabel:
- My favorite way is to provide students with rhythm cards for whatever rhythms they’re currently learning. Instruct them to use the rhythm cards to create a 4 or 8-beat rhythm composition, and then play it (if you have no rhythm instruments, they can clap instead).
- Alternatively, students can write their 4 or 8 beat rhythm composition on a worksheet and then play it. (I prefer the manipulatives just because it prevents frustration from some students prone to erasing holes in their pages while trying out different patterns).
- Popsicle sticks are also a fun alternative to rhythm cards for younger grades making ta and ti-ti compositions (just have students make the sticks into the shapes of notes. One stick is a quarter note. Two sticks with a third across the top is a pair of eighth notes).
Creating and playing instruments is a lot of students’ favorite part of music class!
Listening Center
A listening center can be very simple to set up. You do need headphones and a device for students to listen to the music on, though.
Students:
- listen to a short piece of music
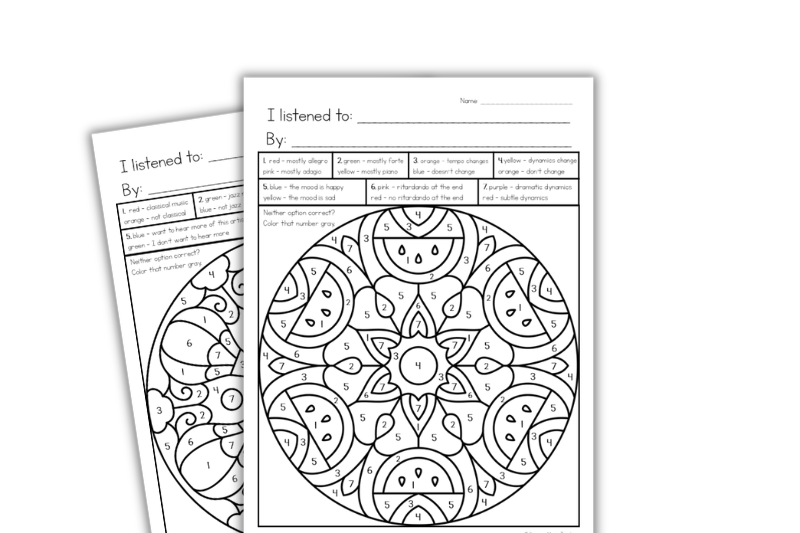
- answer questions or respond in some way. My favorite way for students to respond is with listening glyphs or worksheets.
Listening glyphs let students show their understanding through coloring. For example, they are directed to color a picture based on what they hear in the music. For example, color the number 1’s blue if the music is forte or pink if the music is piano.
For younger grades, listening worksheets that ask only 1-2 simple questions (such as piano or forte) and ask students to draw a picture of what they hear are another option.
This builds active listening skills, review musical terms, and gives students another way to express their learning.
How to Keep Centers Low Prep
One of the easiest ways to simplify centers is to reuse the same formats each time.
For example:
- use the same card game with different rhythm levels depending on what students are learning
- use matching games for different concepts
- use the same style of listening glyphs with a different piece of music
- and so on
If students already understand how an activity works, transitions are faster and you can spend less time explaining directions.
Music centers don’t need to be complicated to be effective.
Simple, familiar activities often work best because students can focus on the music instead of the directions.
Whether you are using them in a full classroom rotation or just incorporating small group activities into your lessons, centers are a great way to give students hands-on practice while keeping things manageable for you.
No Time? Print & Go Music Centers Activities
If you’d like to use these elementary music centers games without creating or organizing everything yourself, I’ve made ready-to-use versions of many of them.
You can find them here:
- Rhythm Go Fish (multiple rhythm levels for easy differentiation)
- Music matching games for rhythm, note names, instruments, and symbols
- Color-by-rhythm worksheets in a variety of seasonal themes
- METEOR! rhythm card game for quick, engaging review
- Rhythm Composition Cards
- Listening Glyphs & Worksheets
These are the same activities described above, just print-and-go so you can use them right away in your lessons.